Capture Beautiful Backlight Photography and Photoshop Editing Techniques | Knowledge #67
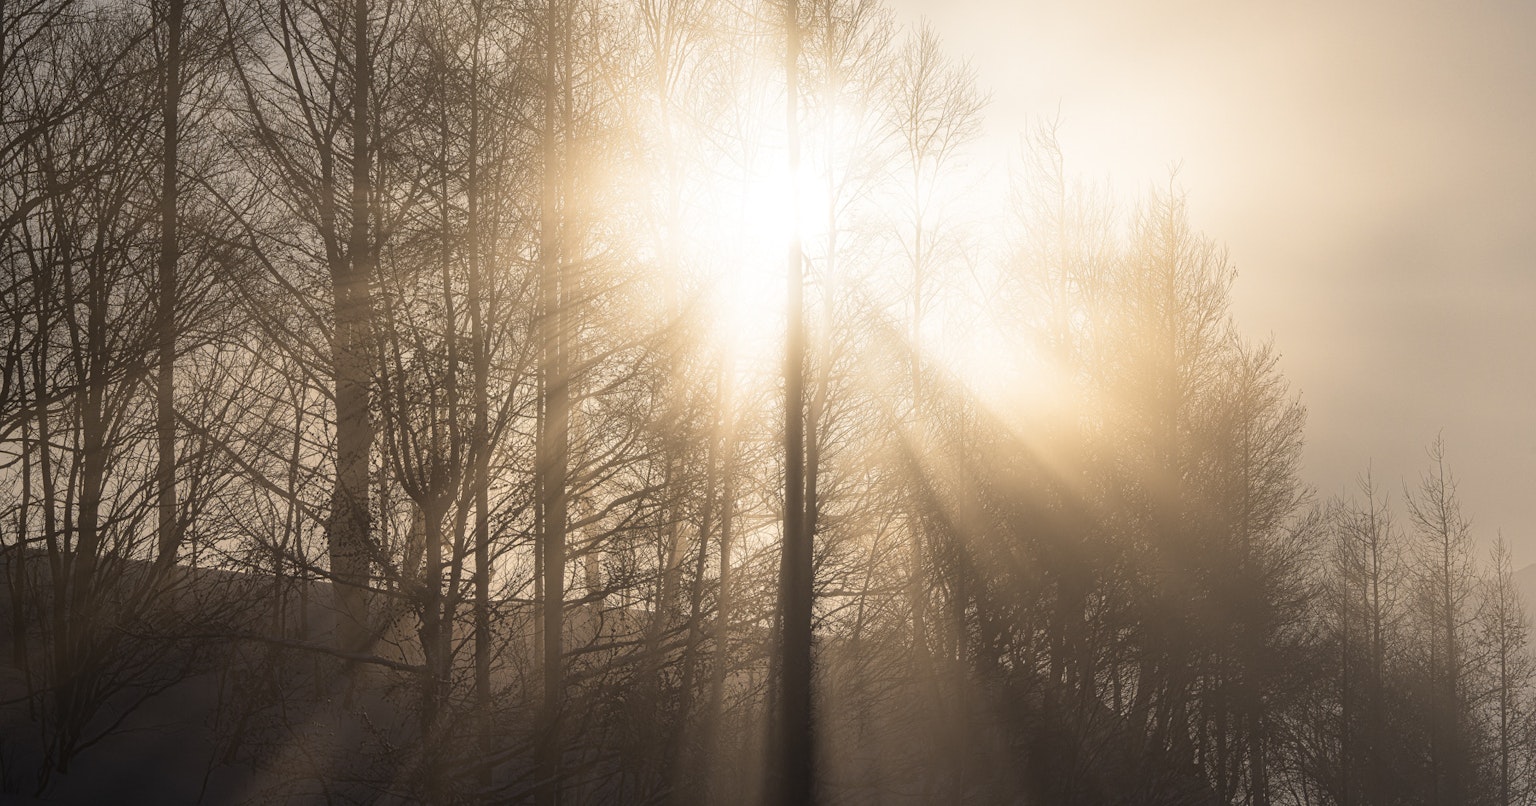
Image by Tomoyuki Azuma
Backlighting can sometimes be perceived negatively in photography, but by embracing it, you can highlight subjects with its unique charm and dramatic effect. This article explains techniques for capturing stunning backlight photos and specific editing methods using .

Image by ユウ3850
Choosing the Right Location and Composition
To capture beautiful backlight photos, it's crucial to find the optimal shooting location. Look for places like these:
Among Trees
Placing trees behind the subject can partially block the backlight, creating a beautiful rim light. Forests or along wooded paths are ideal.
Open Spaces
In open areas, sunlight can be adequately diffused, capturing soft backlight. Meadows or parks are suitable locations.
Partial Shade
Placing the subject in partial shade creates contrast between backlight and shadow. Consider outdoor locations like building shadows or under bridges.
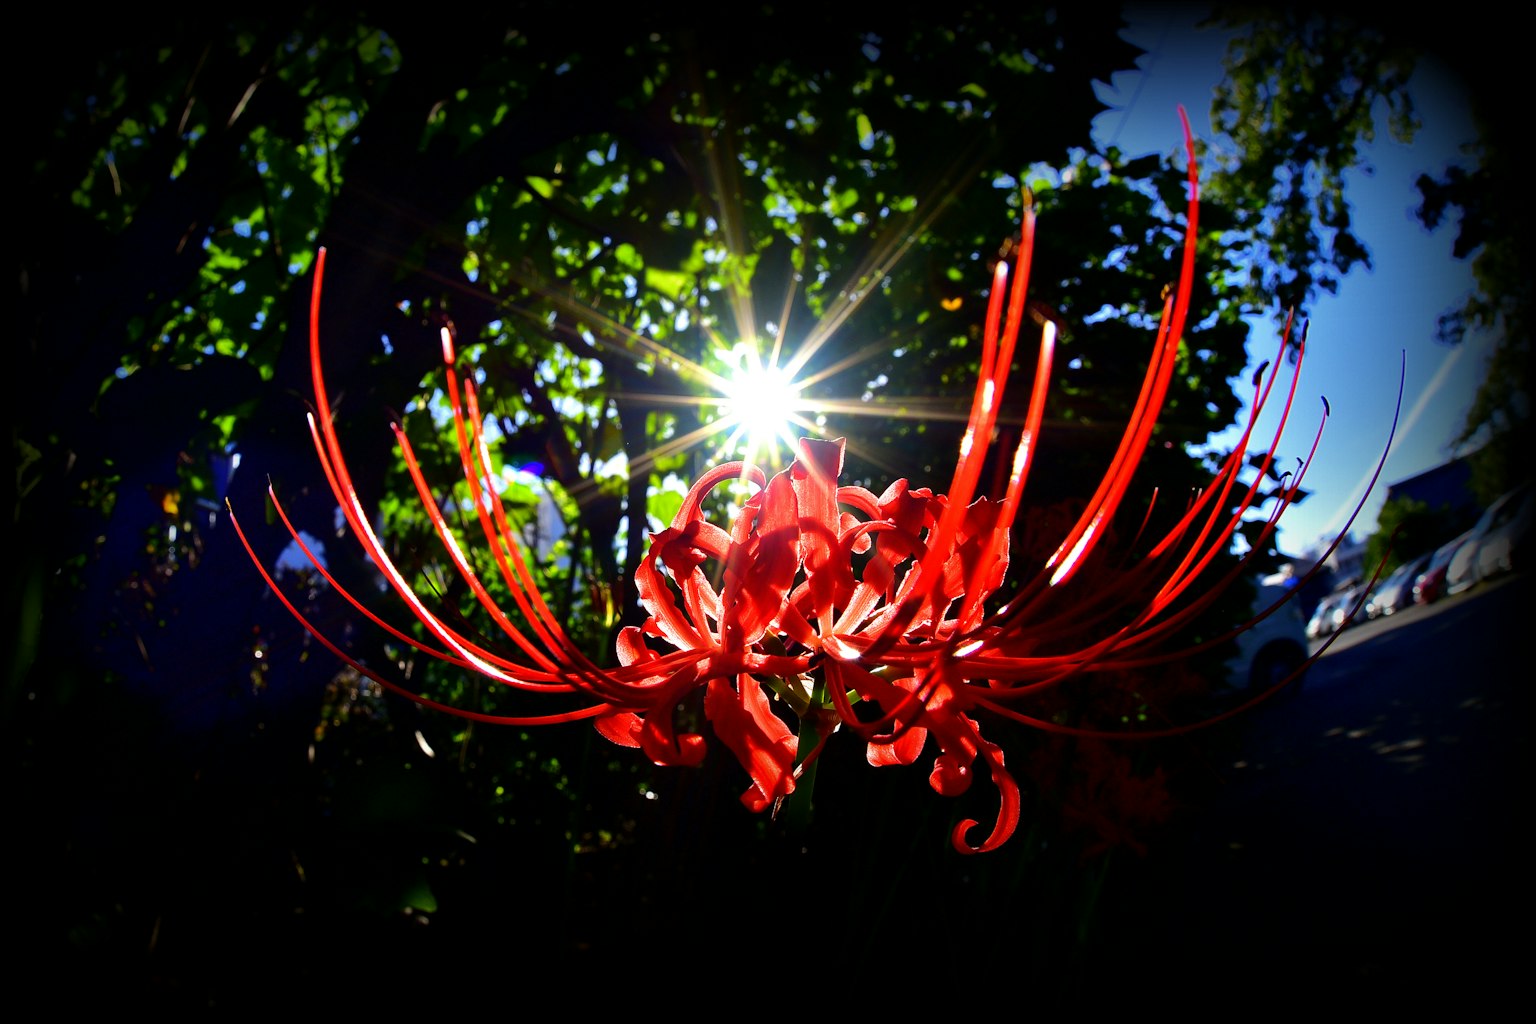
Image by masakun
Aim for the Golden Hour
The most effective way to capture beautiful backlight photos is to aim for the 'Golden Hour.' This time, just after sunrise or just before sunset, provides soft sunlight that casts a beautiful rim light on subjects. Consider these recommended camera settings during this time.
Aperture
To make the subject stand out from the background, set a low value like f/1.4 to f/2.8. To include the background, set a higher value like f/11 to f/16.
Shutter Speed
Use a fast shutter speed (1/250 seconds or more) to freeze the subject's motion and adjust for proper exposure.
ISO Sensitivity
Use the lowest ISO value possible (ISO 100-200) to minimize noise.
Spot Metering
Set the correct exposure for the subject's face to prevent the background light from overly affecting it.
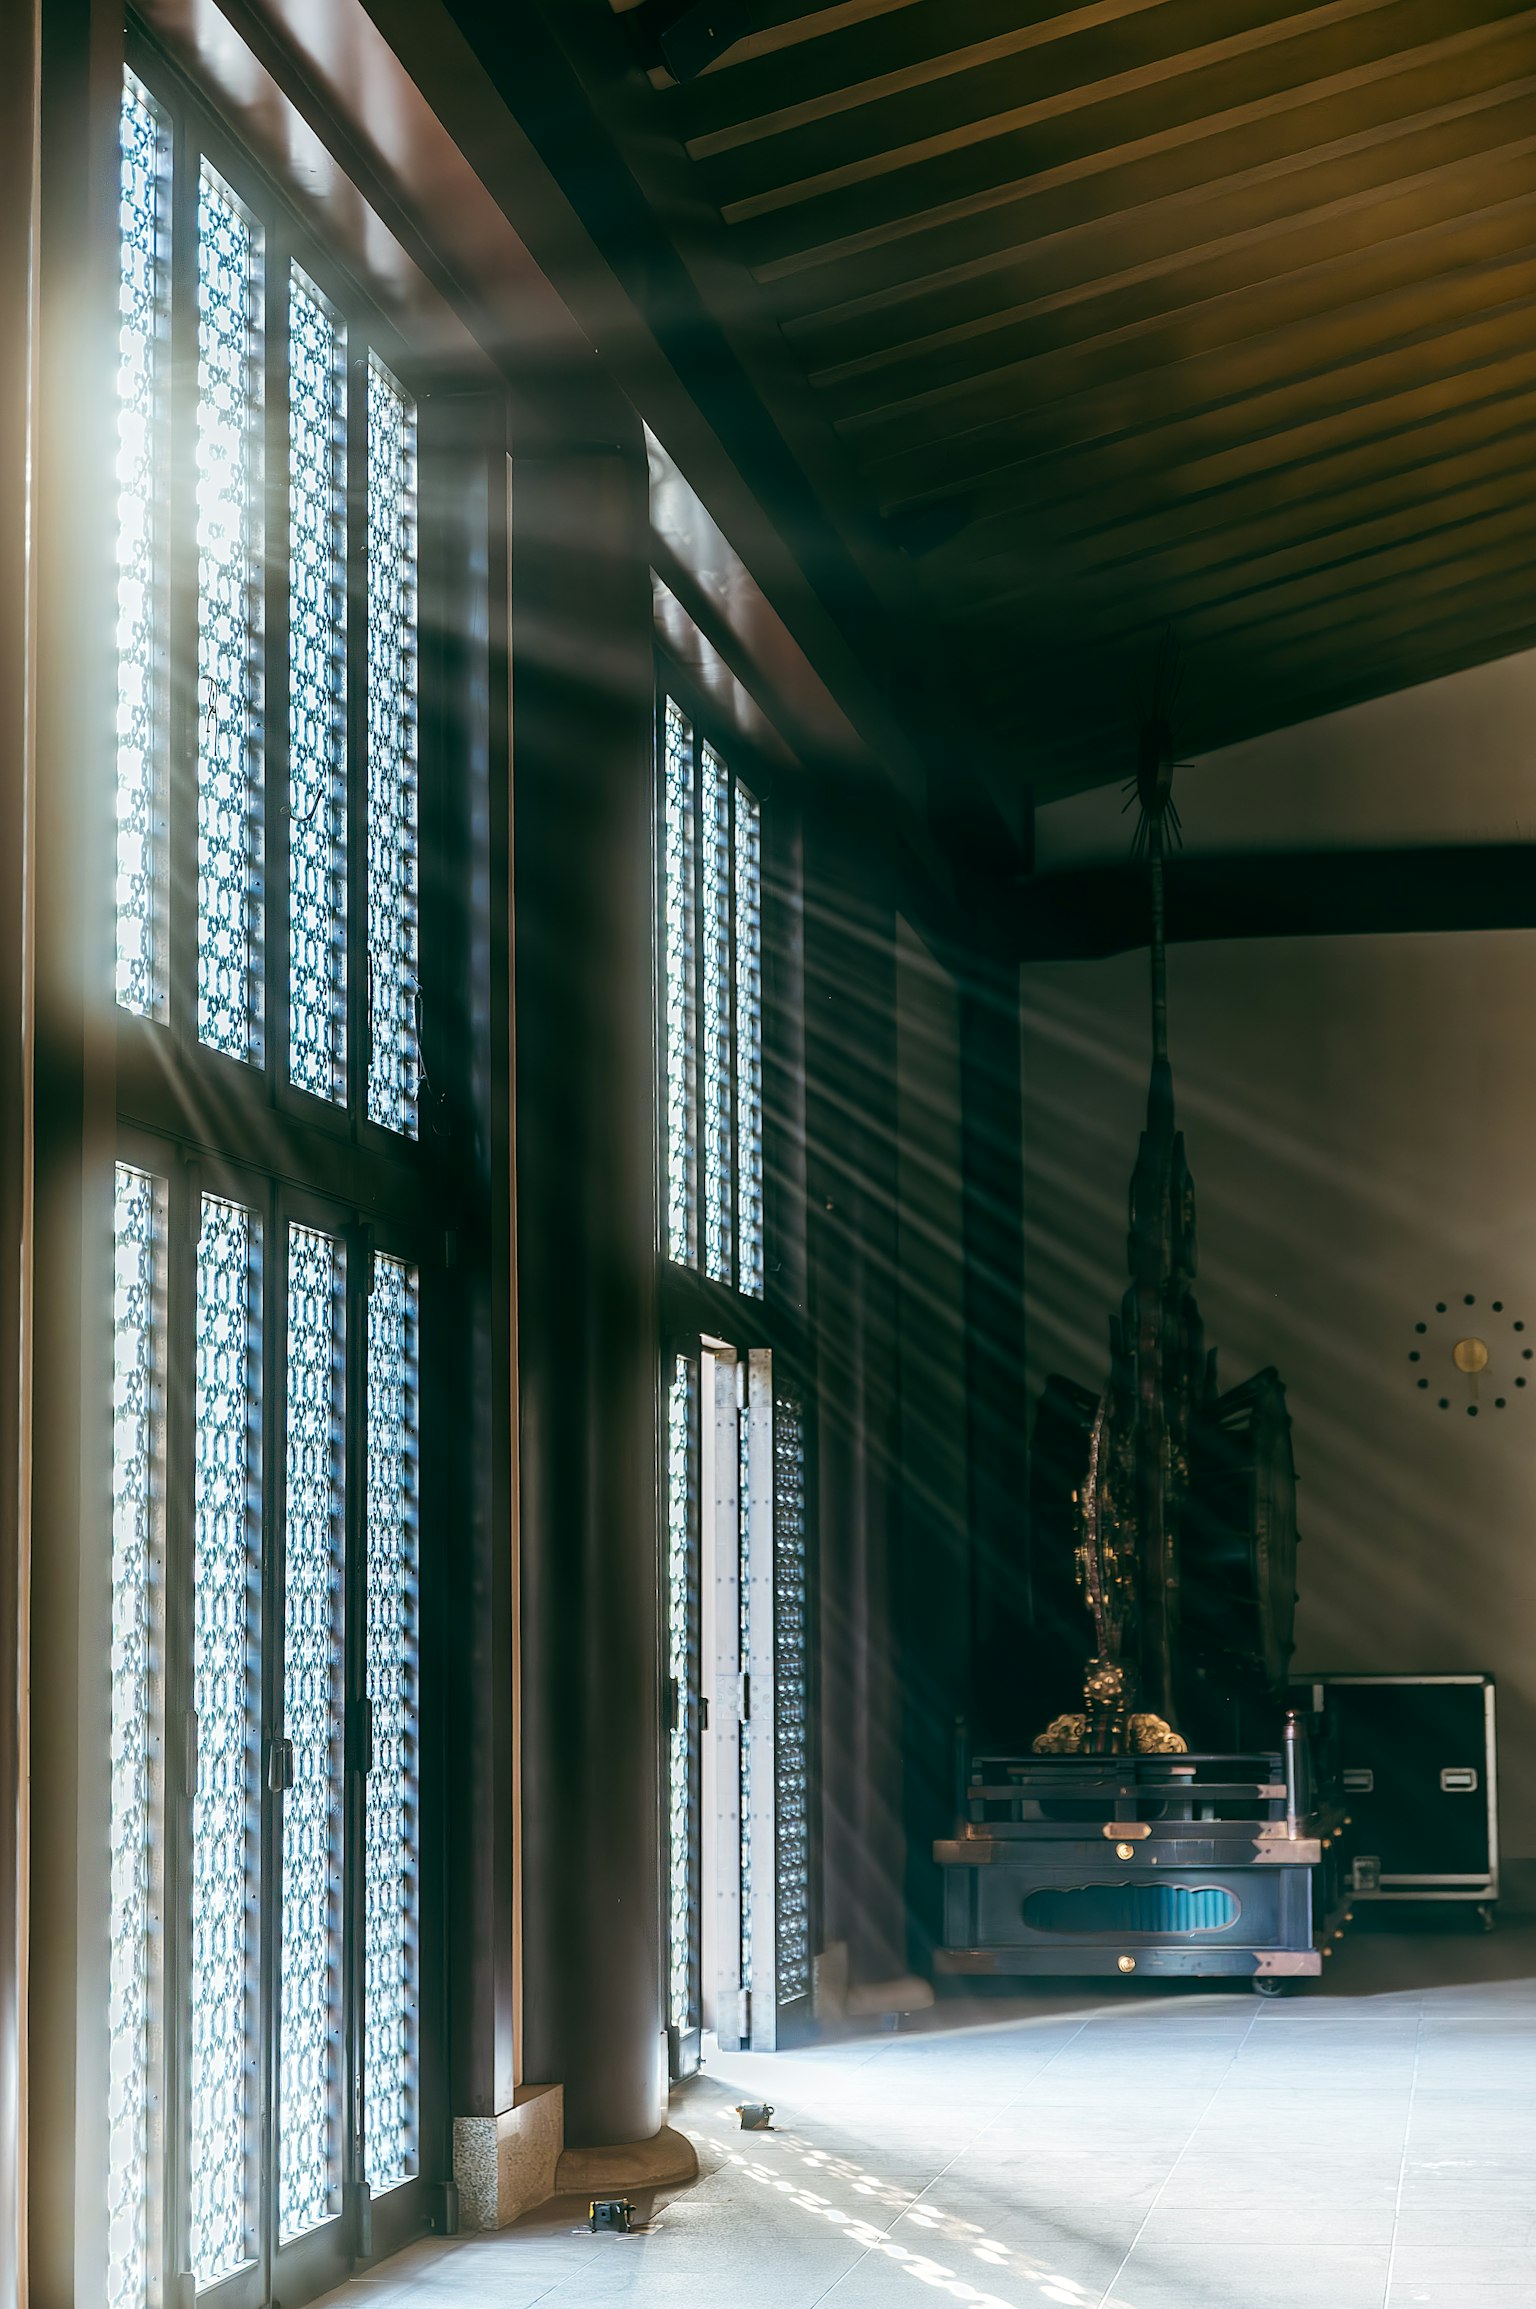
Image by YuKoreeda
Editing Tips in Photoshop
After shooting, it's time to edit in . Follow these steps to enhance your backlight photos.
1. Adjust Exposure
Use 'Levels' or 'Curves' to adjust overall brightness and contrast. Open the 'Levels' window and adjust the highlight and shadow sliders to correct overly bright highlights or too dark shadows.
2. Color Grading
Use the 'Color Grading' panel to adjust the overall tone of the photo. Use the 'Color Balance' tool to fine-tune the colors of shadows, midtones, and highlights, enhancing the photo's consistency and atmosphere.
3. Emphasize Details
Use the 'Sharpen' filter to make the subject's details stand out. Additionally, use the 'High Pass Filter' to emphasize edge areas.
4. Batch Processing
If applying the same edits to multiple photos, record the editing steps in the [Actions Panel] and apply them in batch processing for efficient editing.
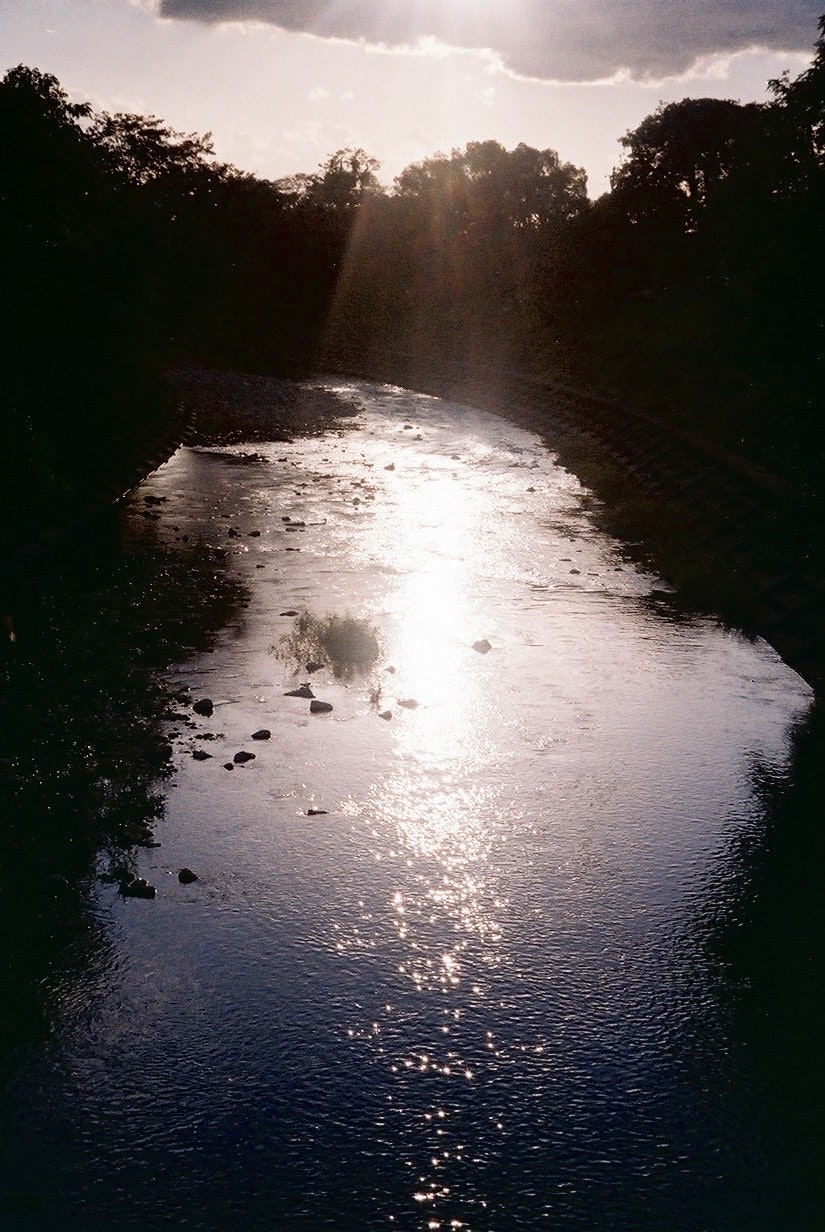
Image by fumi
By following these steps, you can easily capture and edit beautiful backlight photos. As a tip, avoid letting strong backlight directly into the camera by adjusting the position of the subject and the sun. Give it a try!

