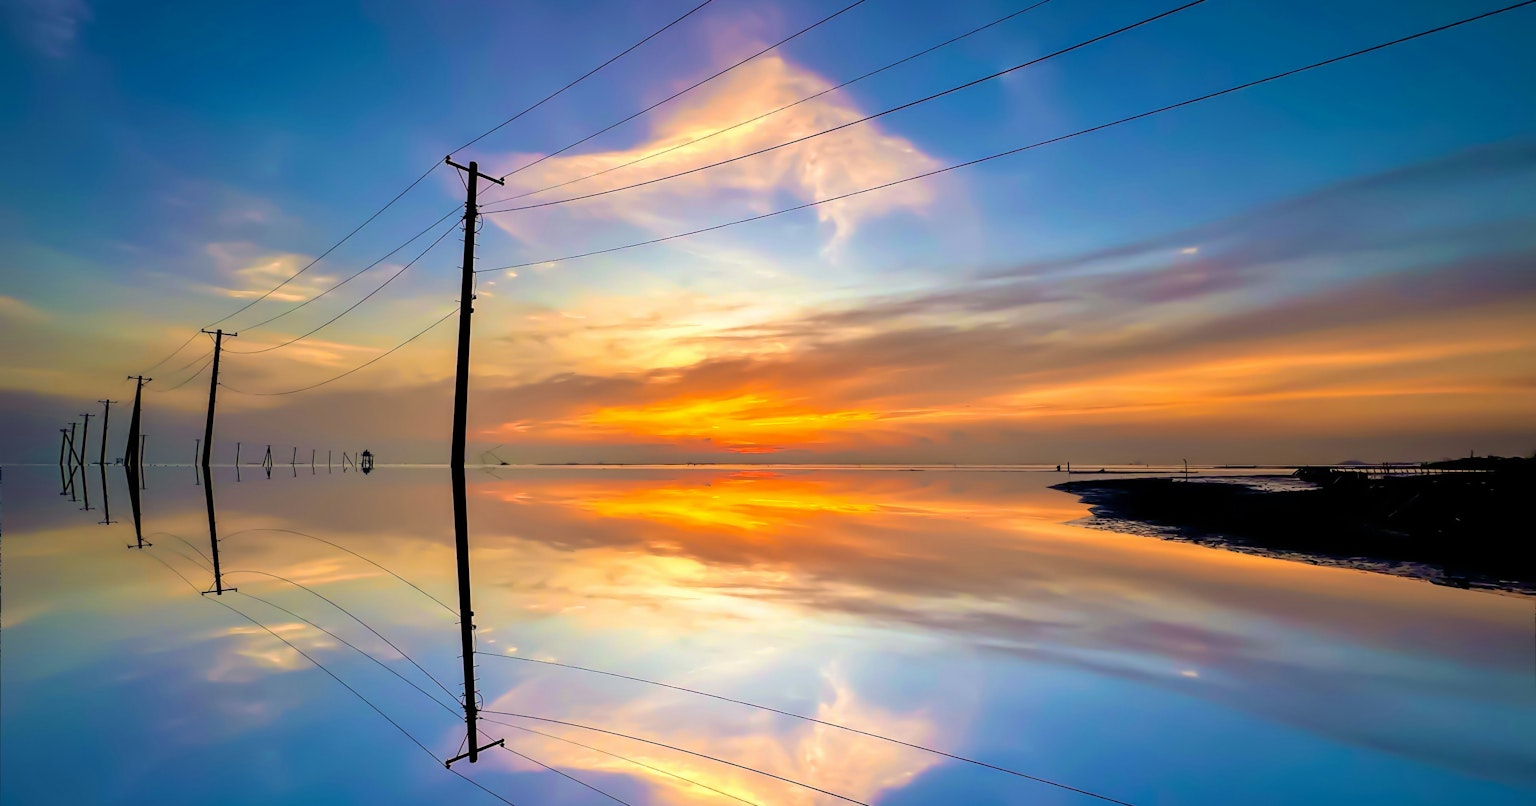
Cover photo by ⭐︎グッチー⭐︎
When summer sunlight meets a calm water surface, the camera captures two worlds. Incorporating reflections into landscape photography adds depth and symmetry to your composition, creating captivating works of art.
This time, we introduce techniques for capturing and editing photos that utilize water reflections. These tips are also beginner-friendly for smartphone users.
Ideal Locations and Times
To beautifully capture reflections, calm mornings or evenings are best. Look for still water surfaces such as lakes, puddles, or tidal pools by the sea. Ideal subjects include mountains, clouds, or buildings with clear outlines.
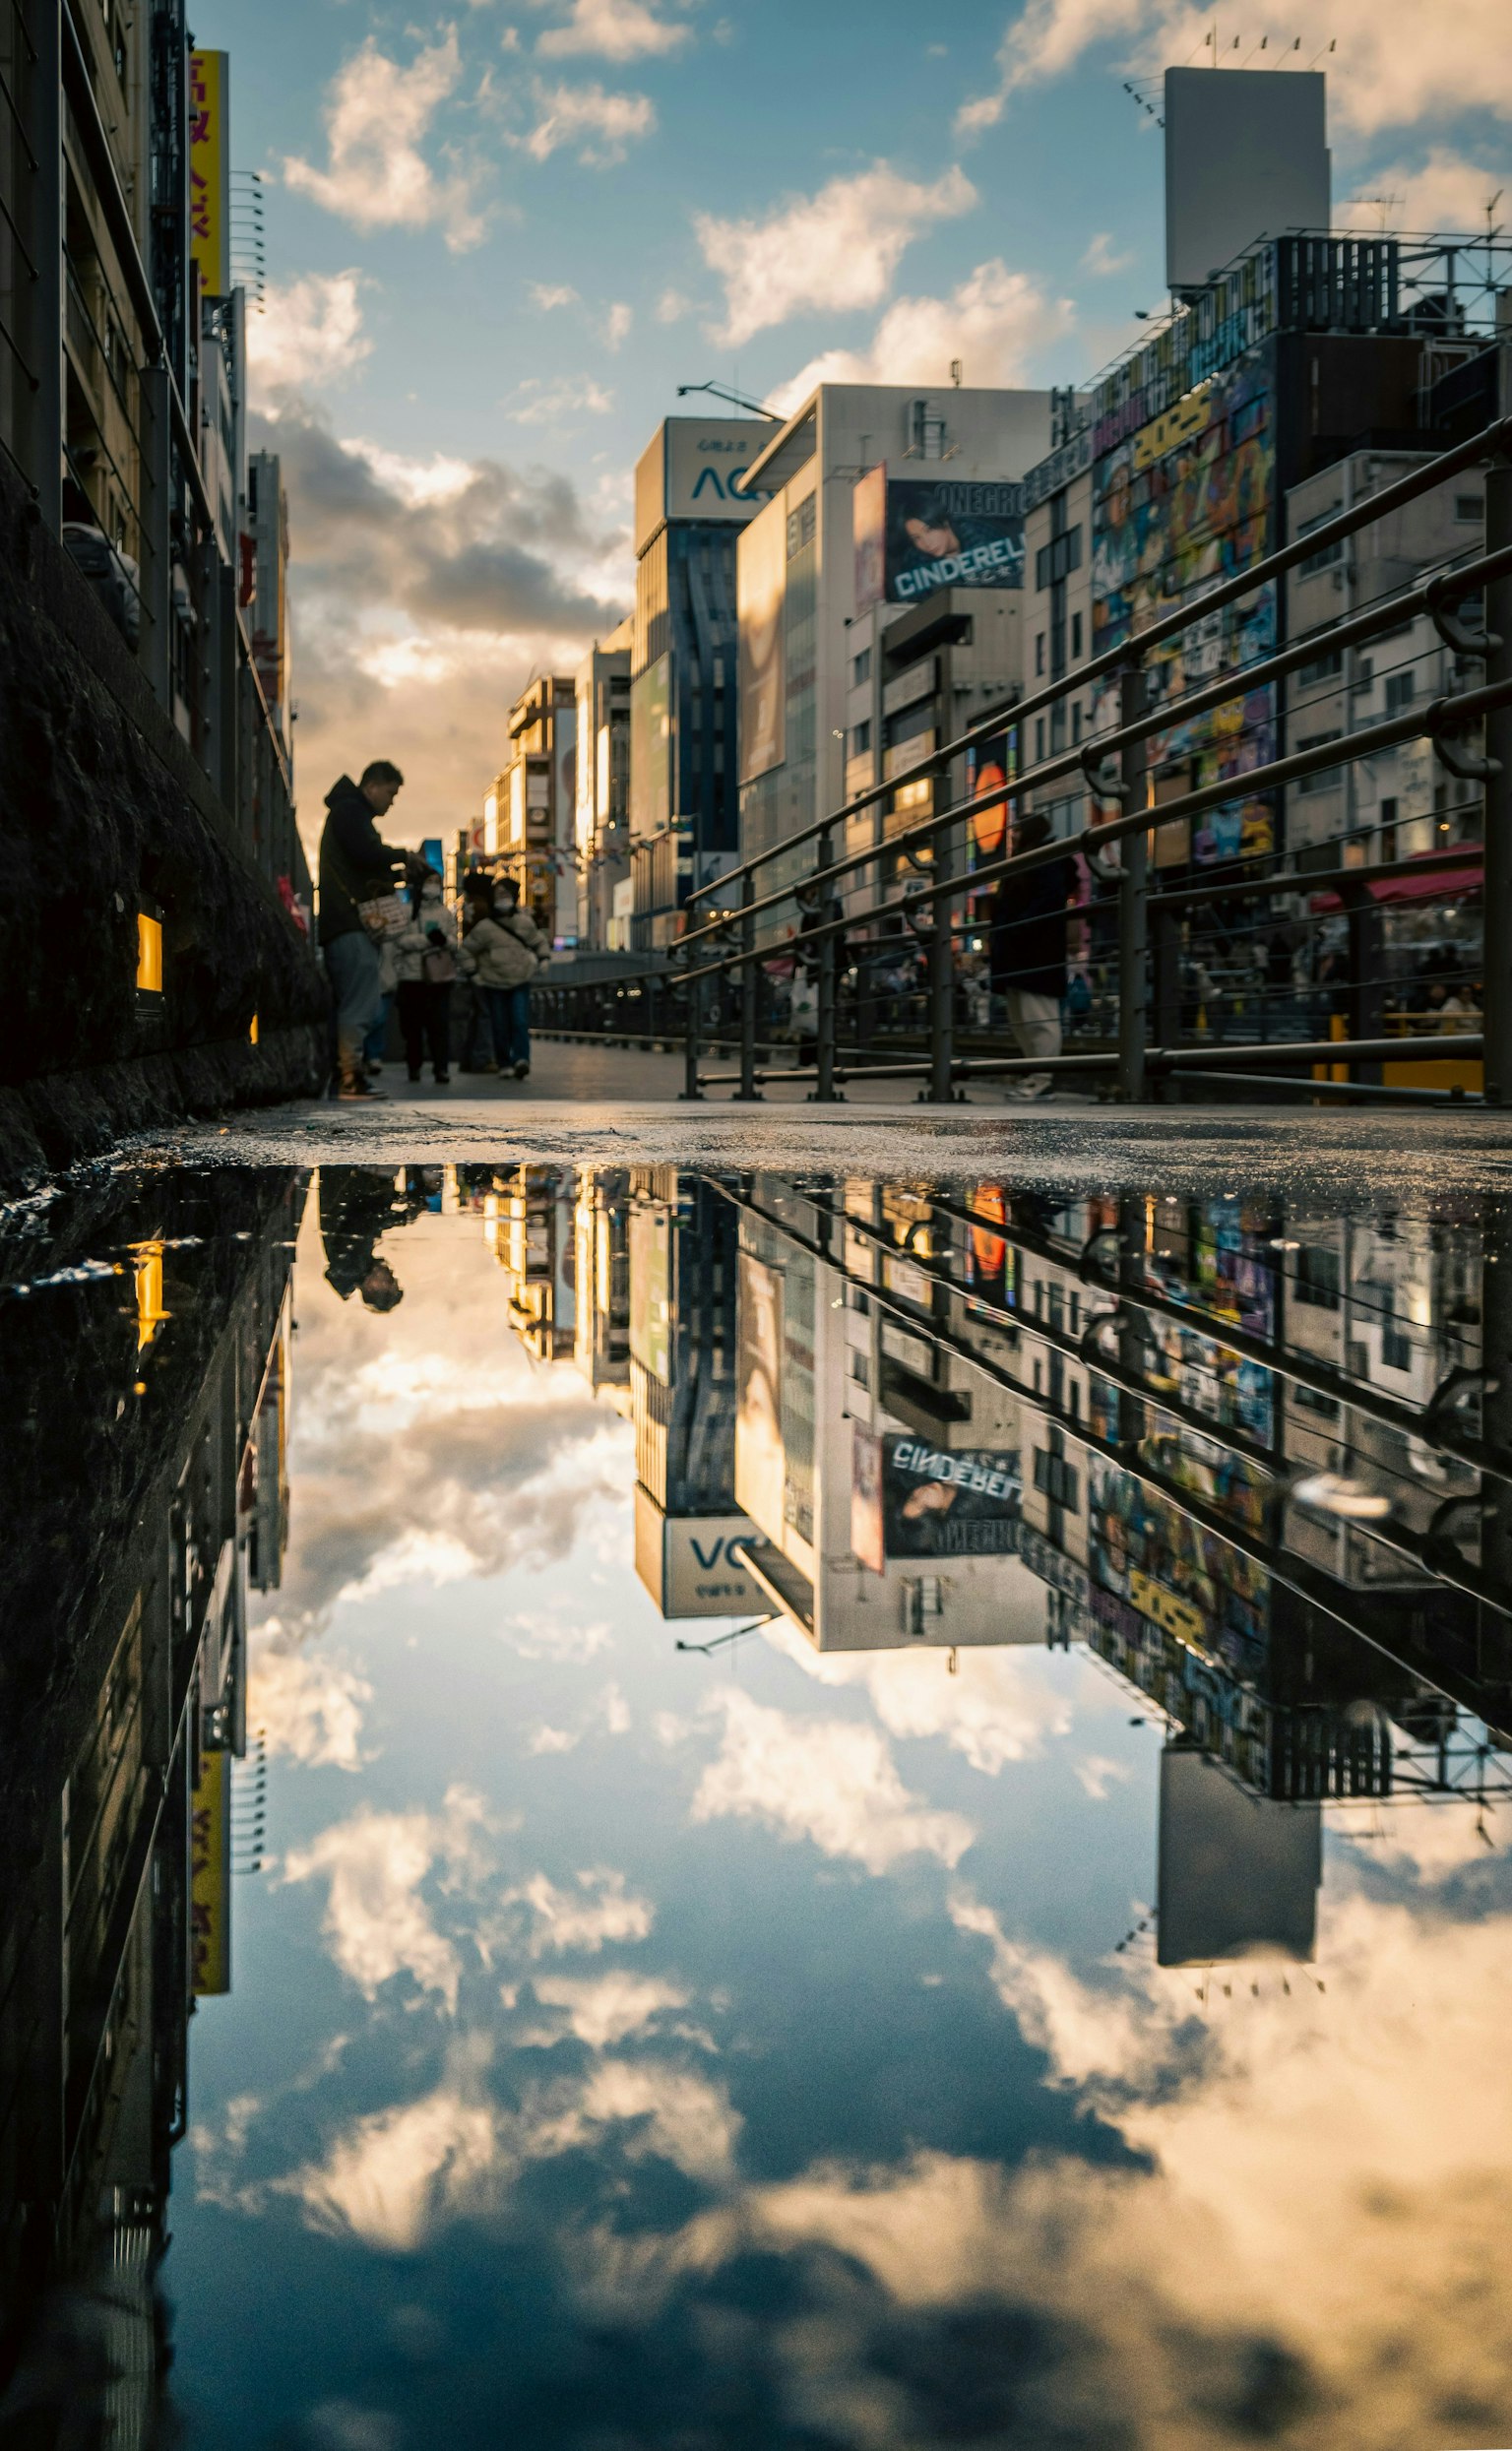
Photo by ksk_1990
For composition, bring the camera close to the water surface and place the horizon in the center to achieve balance and create a dreamy symmetry.
Enhancing Expression with Equipment and Settings
Using a tripod is highly recommended. It helps maintain a stable composition at low angles. Additionally, an ND filter allows for long exposure even during the day, making the water surface appear smoother.
If you want to emphasize reflections, set the aperture to around f/11–f/16, keep the ISO low, and manually adjust the exposure to match the brightness of the water surface for optimal results.
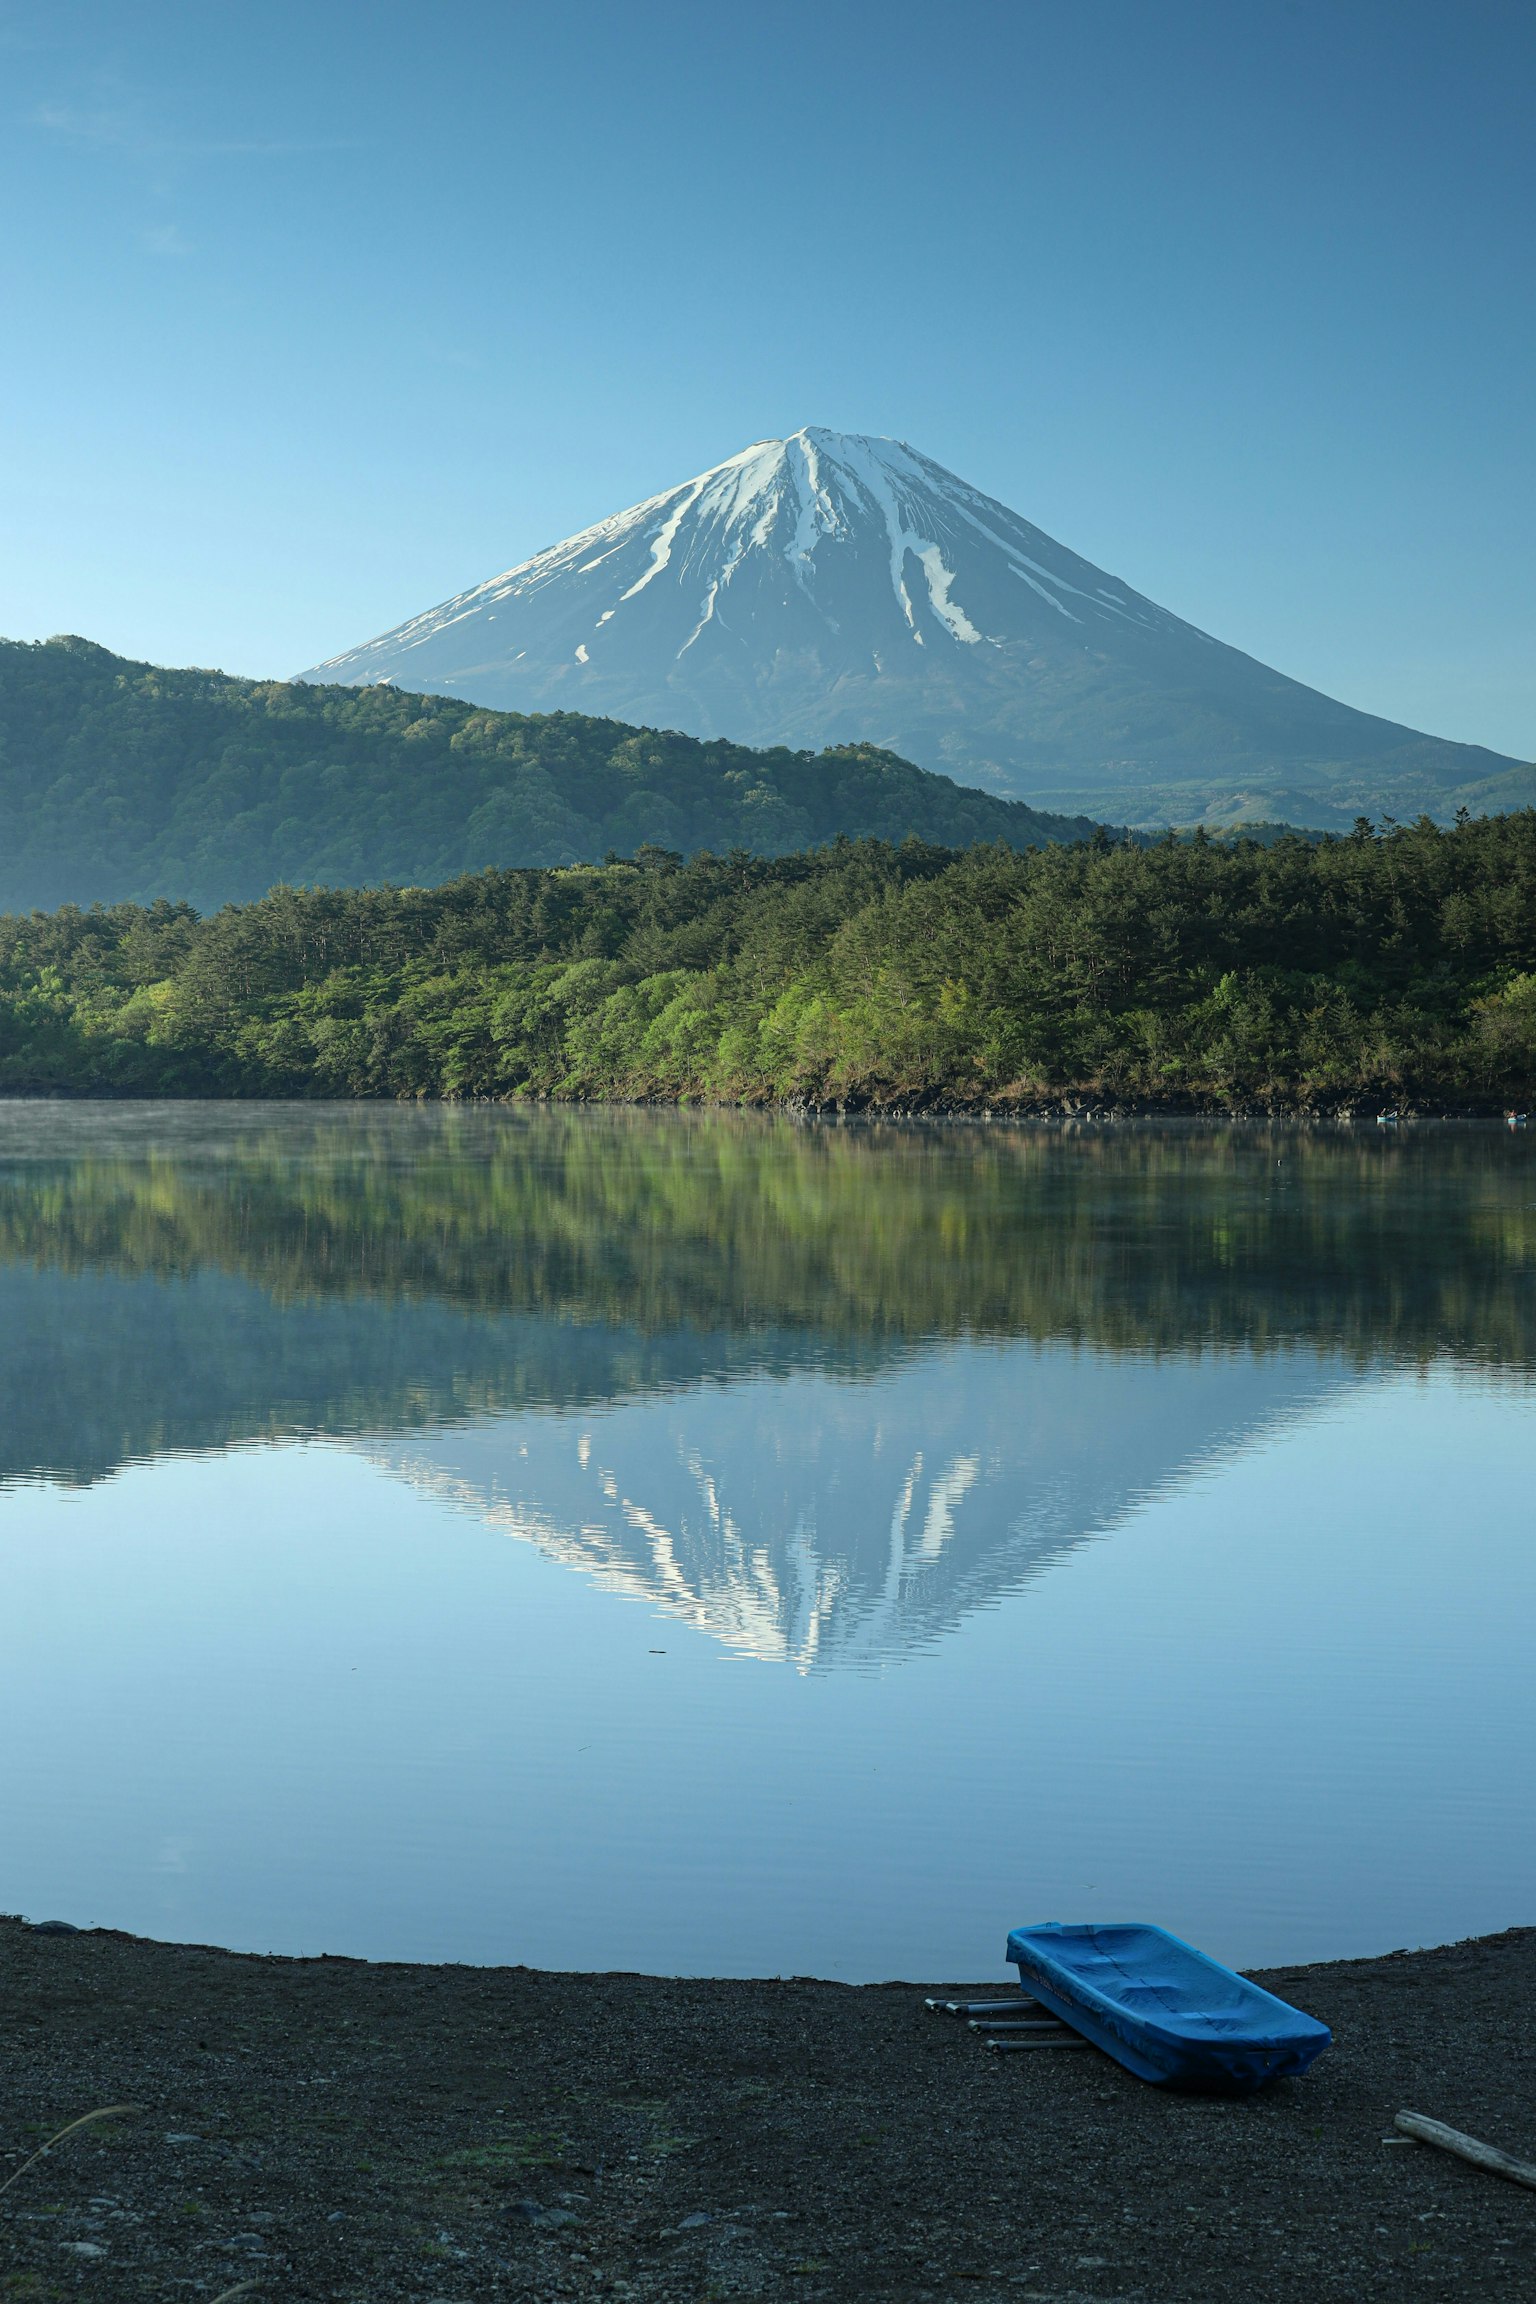
Photo by mintchoco
Natural Colors and Detail Enhancement
After shooting, fine-tune the white balance and select tones that match the mood of the reflection. Adjust the contrast using tone curves to balance highlights and shadows effectively.

Photo by 田中ハル
Using a graduated filter in specific areas can recreate the direction of light and guide the viewer's gaze to the reflection. Be cautious not to oversaturate colors and aim for natural hues.


