Capturing Beautiful Nightscapes: Photography and Editing Techniques | Knowledge #156
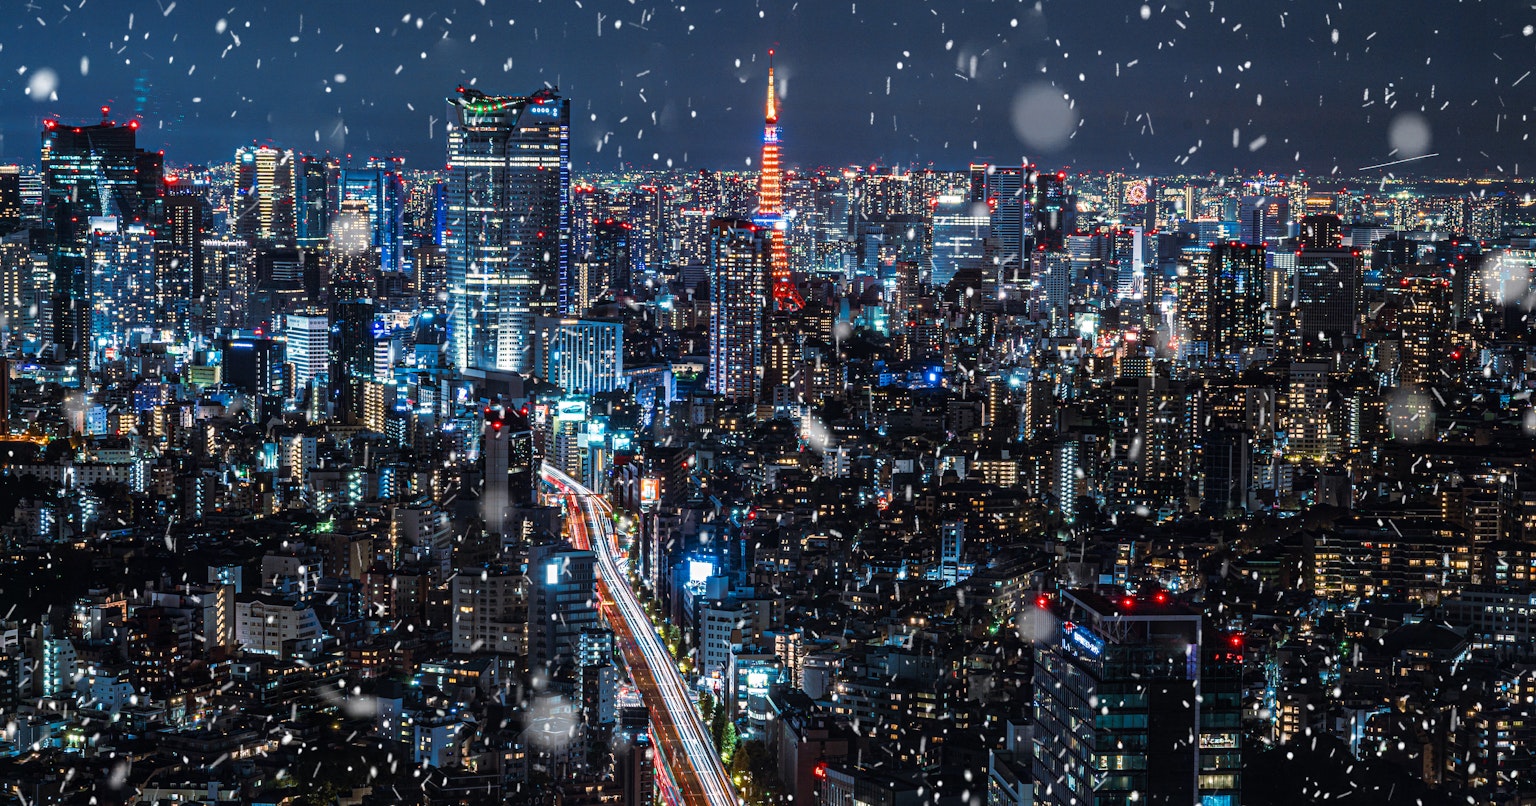
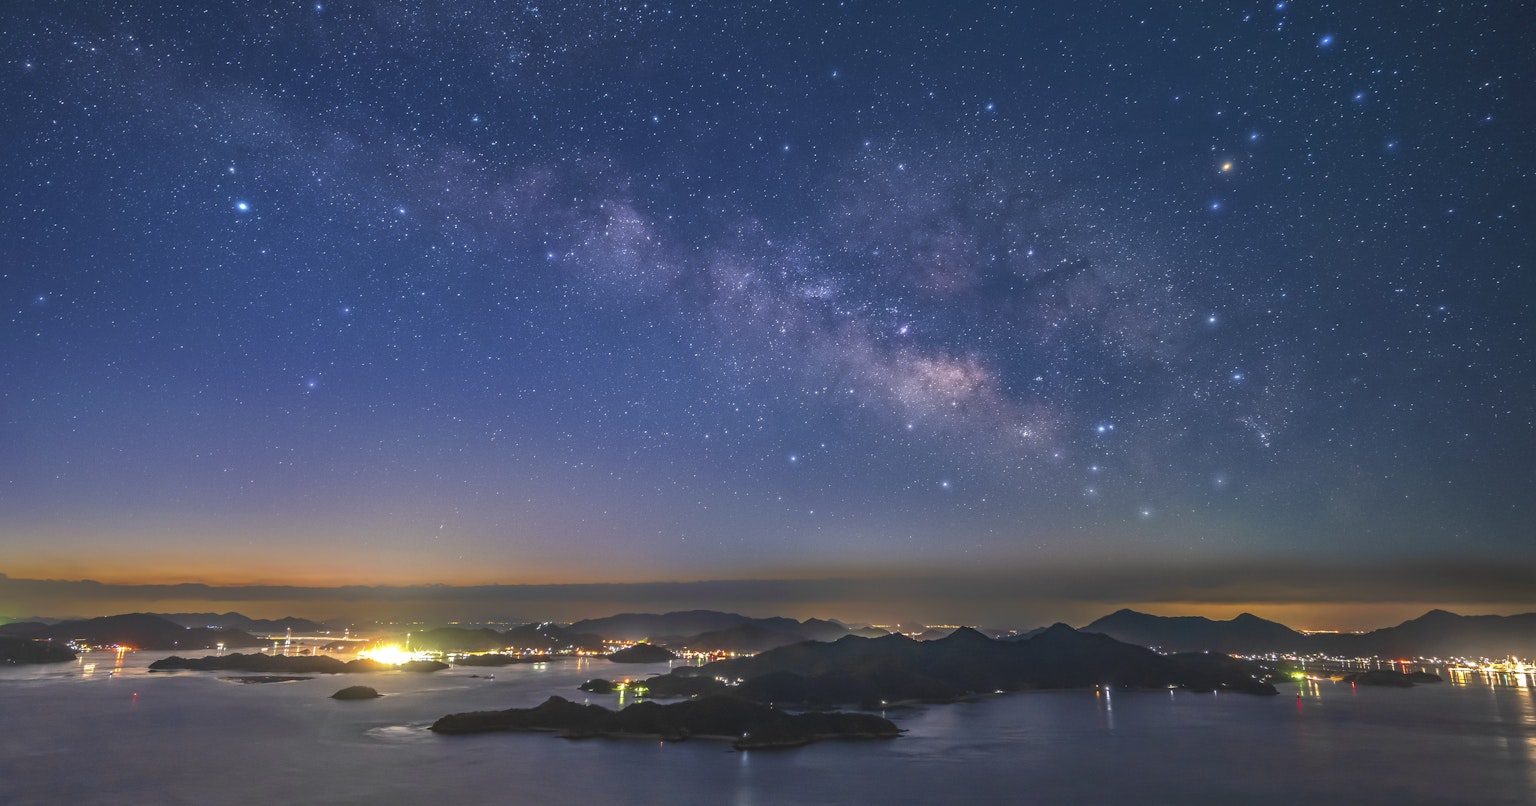
Cover photo by 中嶋 凌 / Nakajima Ryo
Night photography, capturing the glowing city lights and stars, is an alluring theme for many photography enthusiasts. However, it requires different techniques and creativity compared to daytime shooting.
This time, we introduce the basic settings and techniques for night photography, along with editing methods using tools like . Use these as a reference to capture your own nighttime stories with your camera.
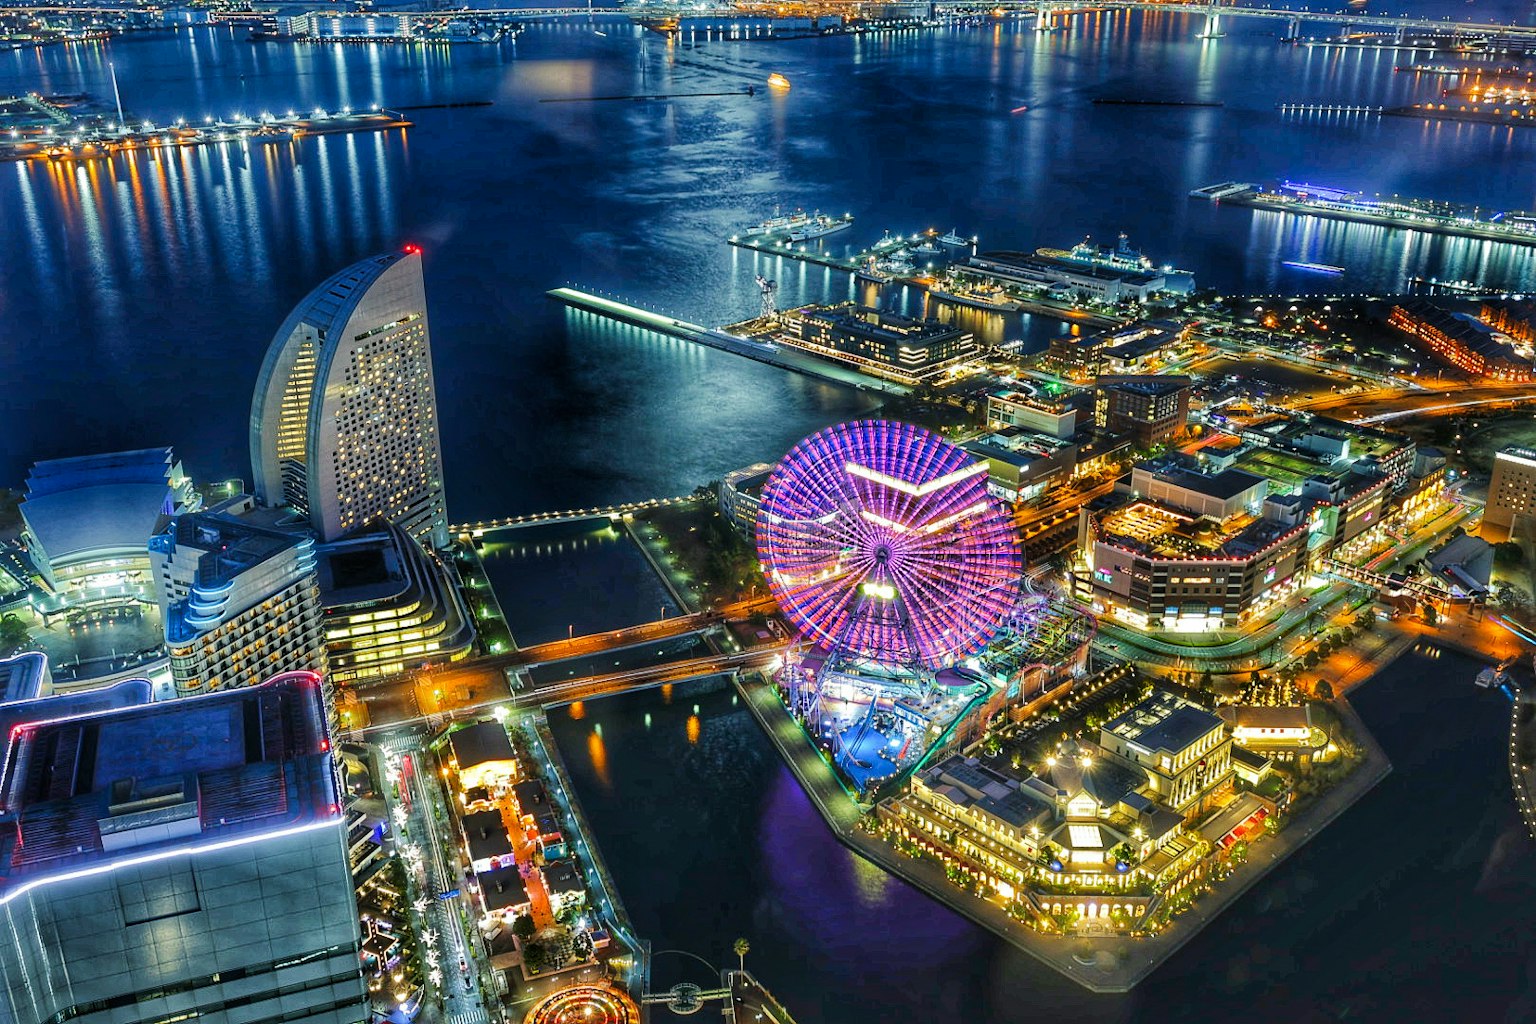
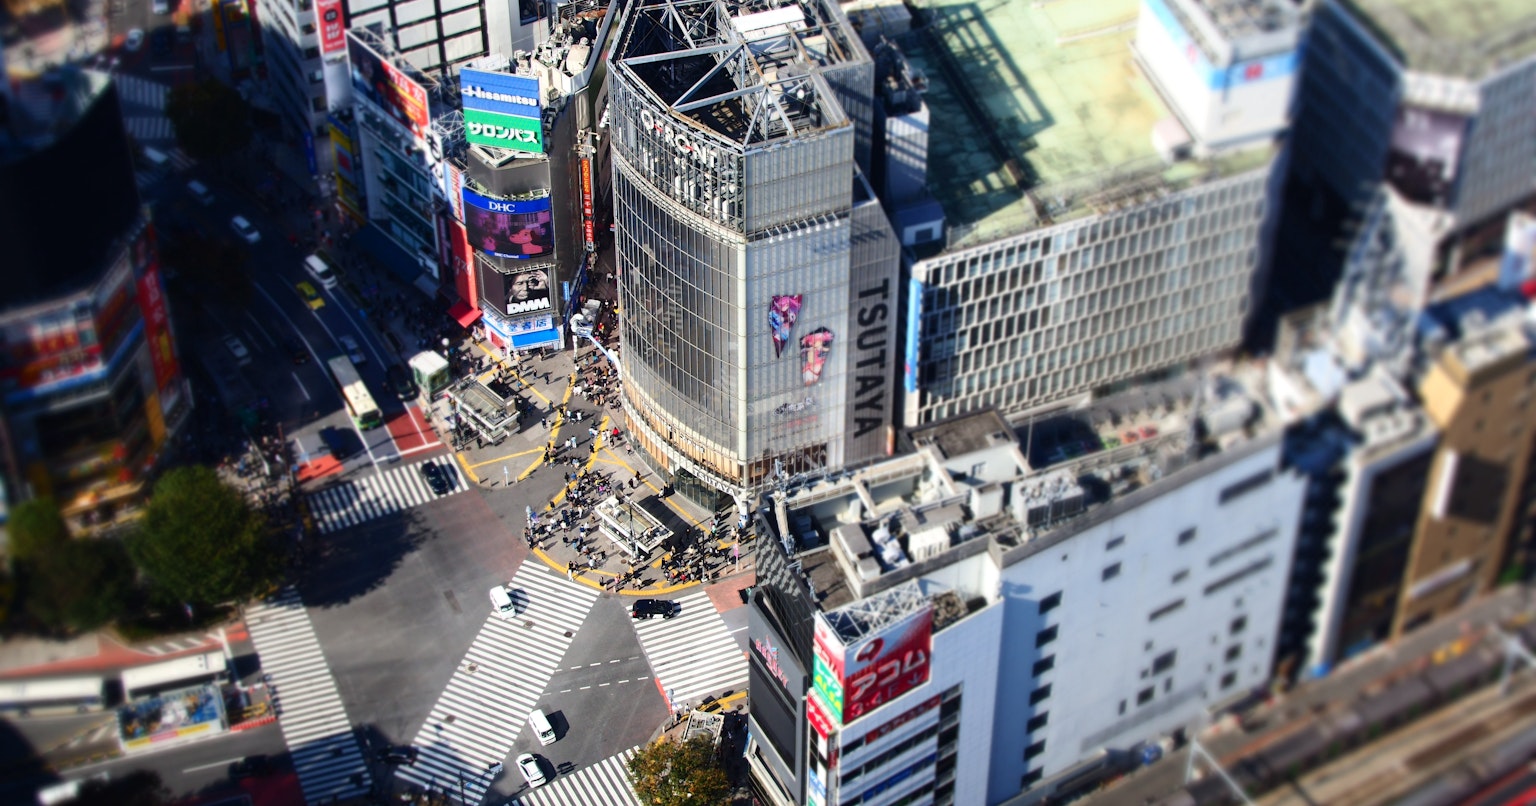
Photo by ⭐︎グッチー⭐︎
Basic Techniques for Night Photography
The success of night photography depends on proper camera settings and preparation. Start by setting up a tripod to ensure camera stability. Open the aperture, slow down the shutter speed, and set a higher ISO to capture bright and clear photos even in low-light conditions.
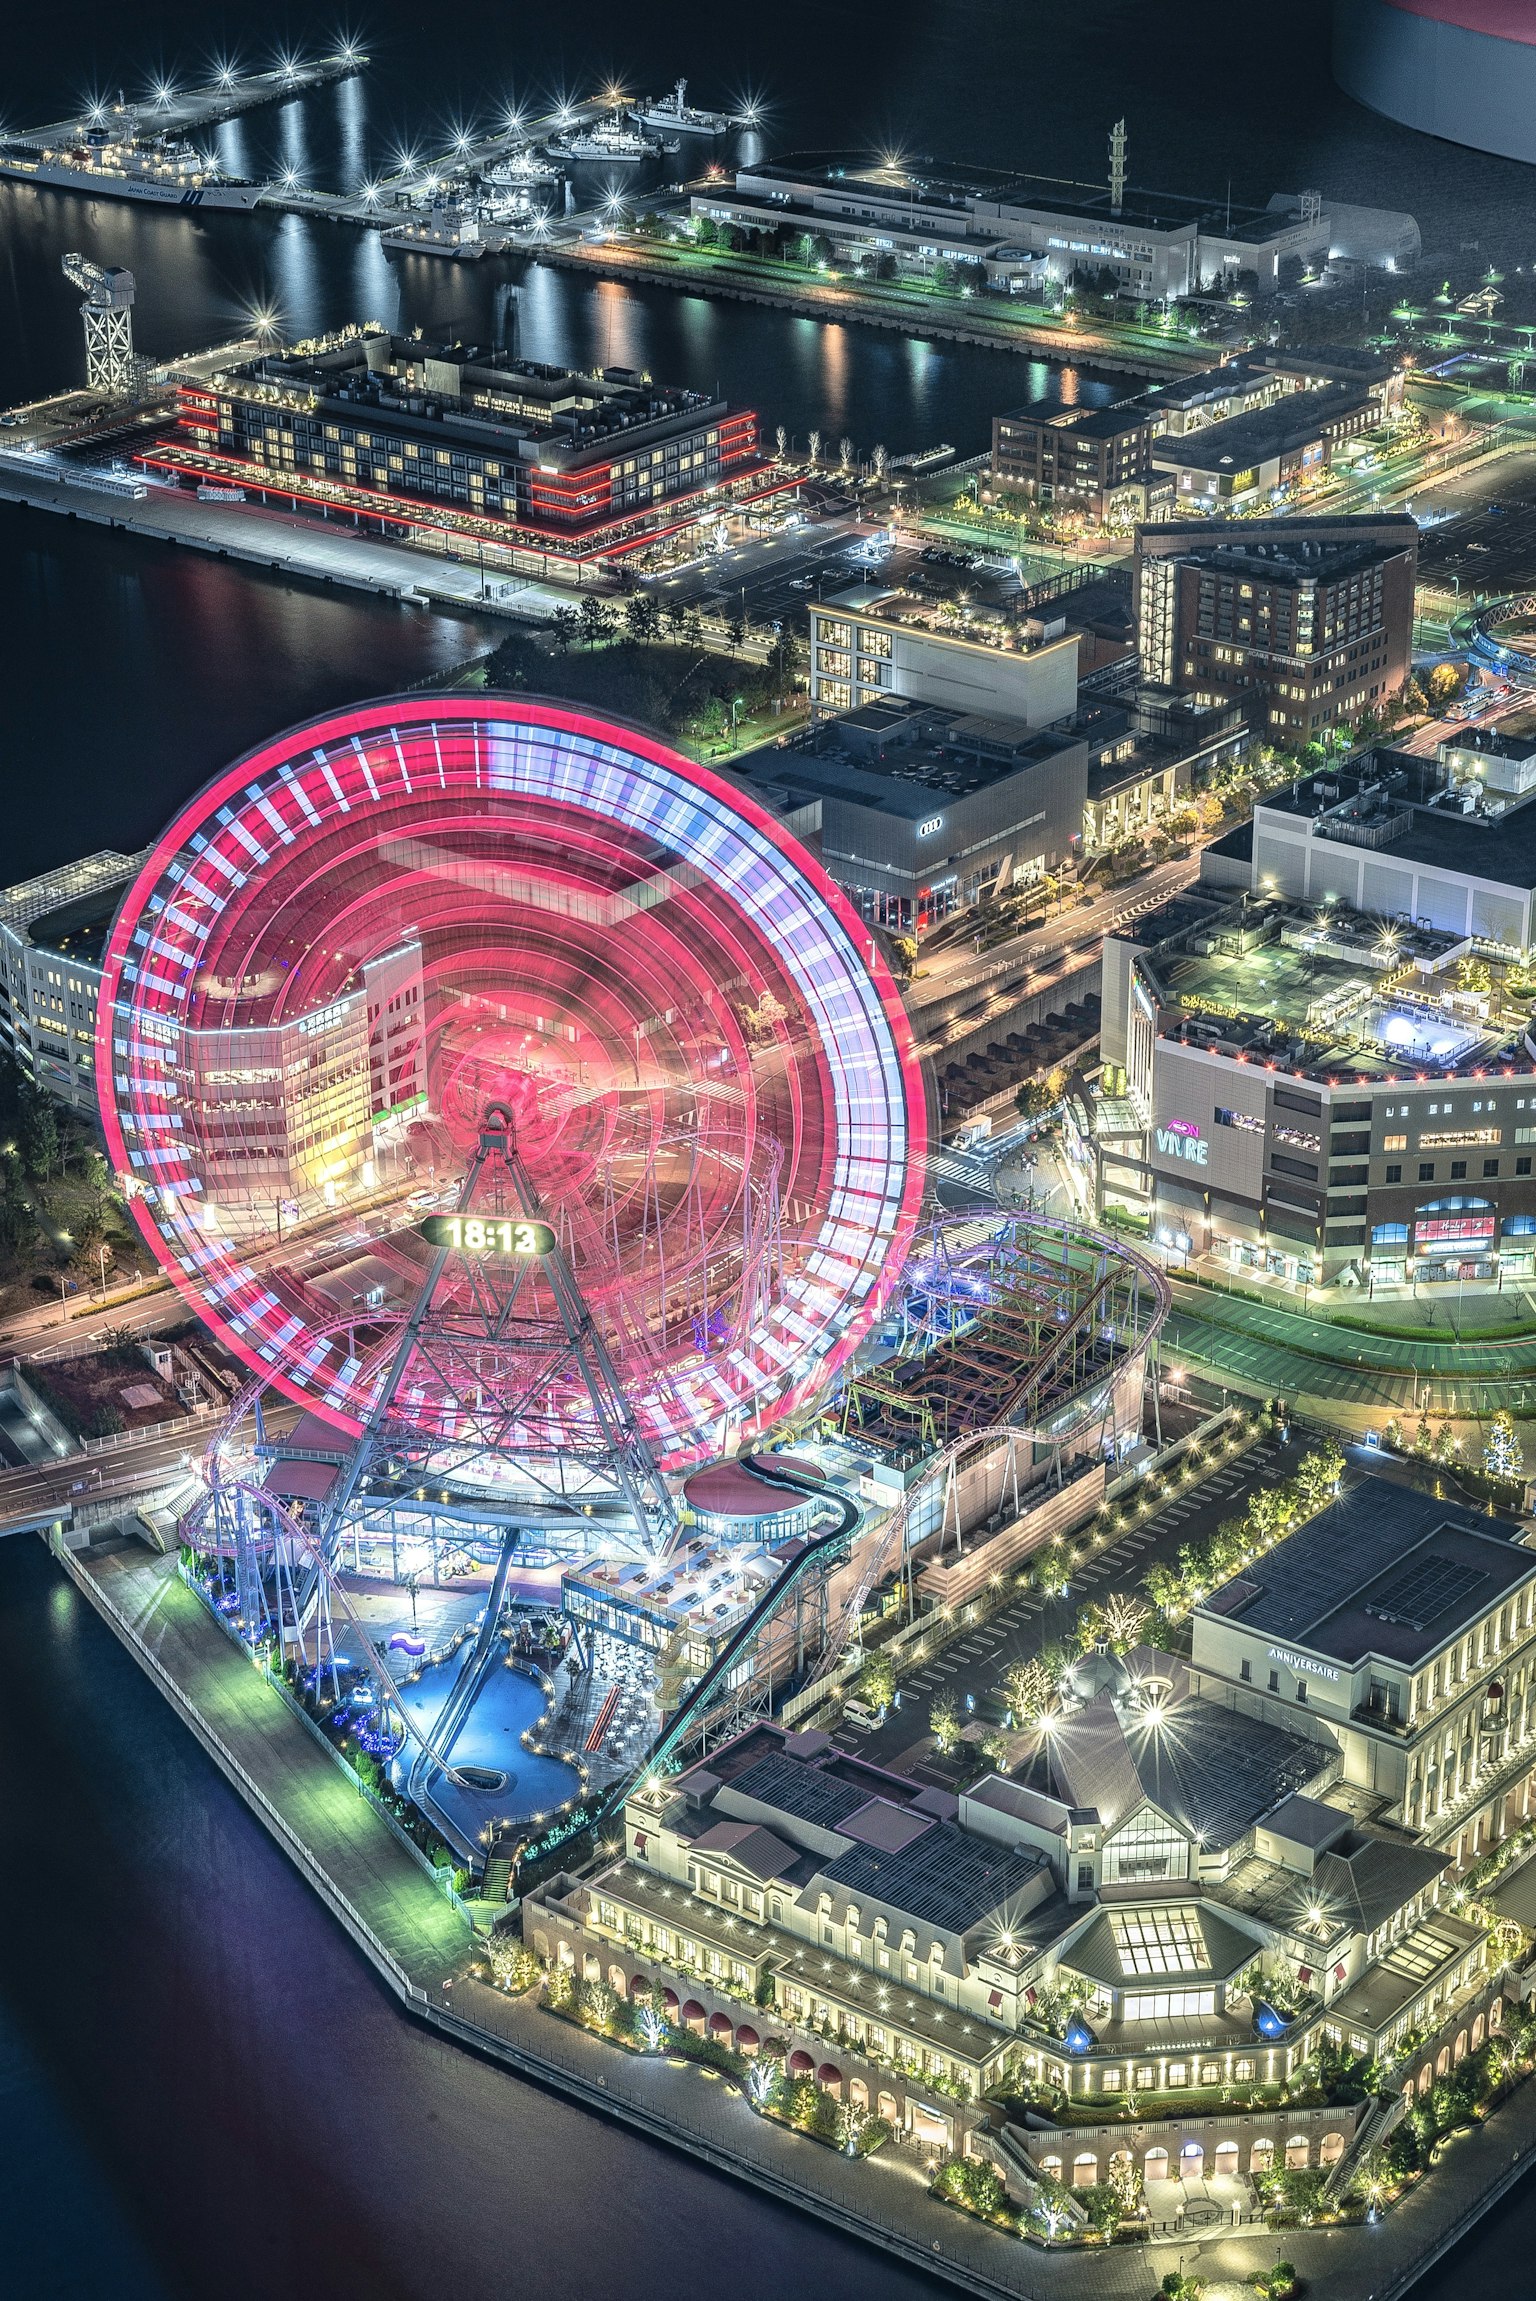
Photo by yuuuu
It is also important to use streetlights or car lights to highlight subjects and adjust exposure to prevent neon blowouts. Keep testing shots to find the optimal balance.
Creative Ideas for Night Photography
To enjoy night photography more, try new ideas. Techniques like light painting to draw light trails or adding dynamism by considering the movement of passersby and cars are worth trying.
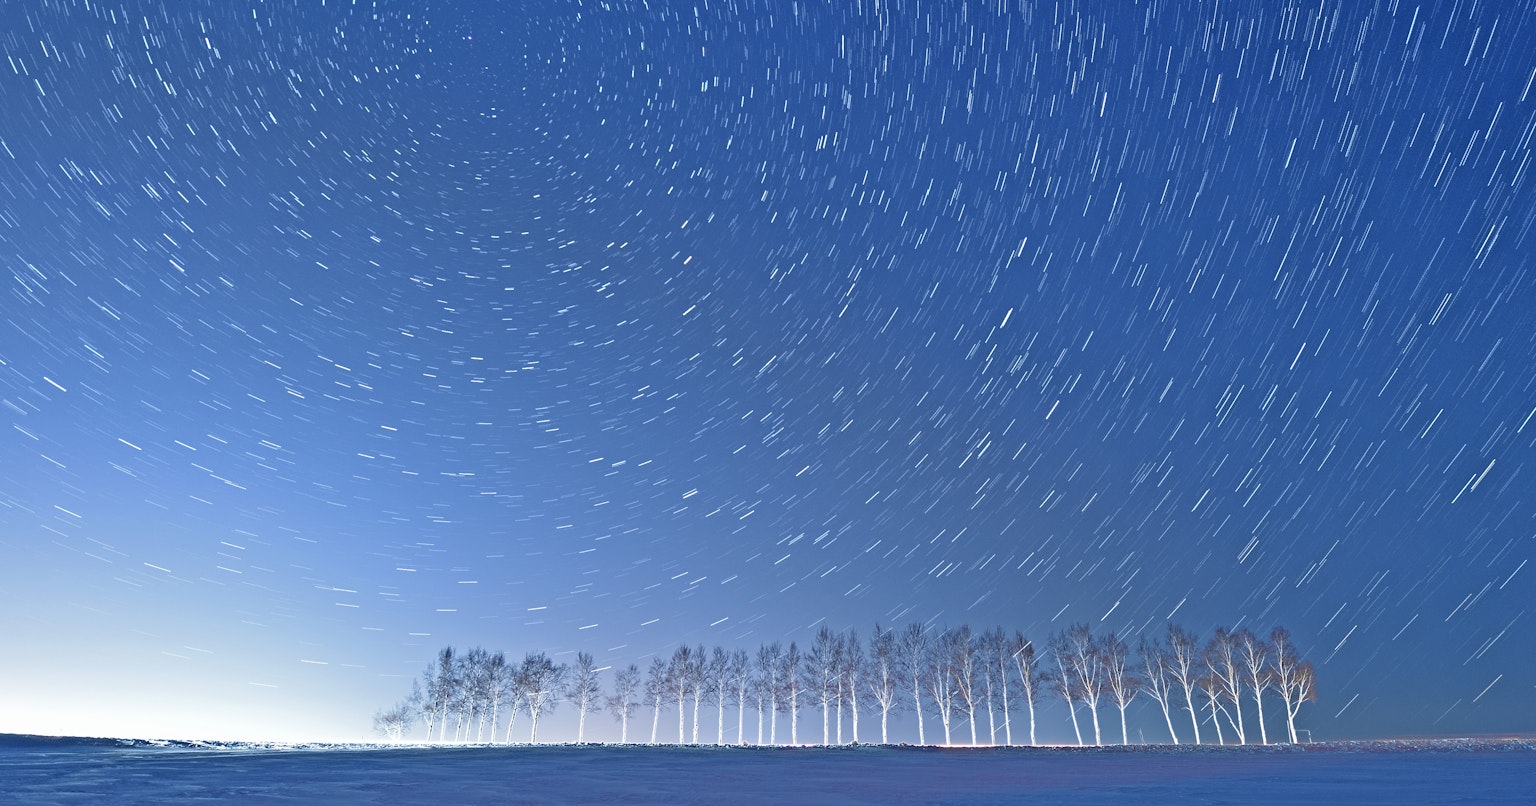
Additionally, capturing subjects as silhouettes against a starry or night sky is also recommended. Using these techniques, you can create more creative and impressive works.
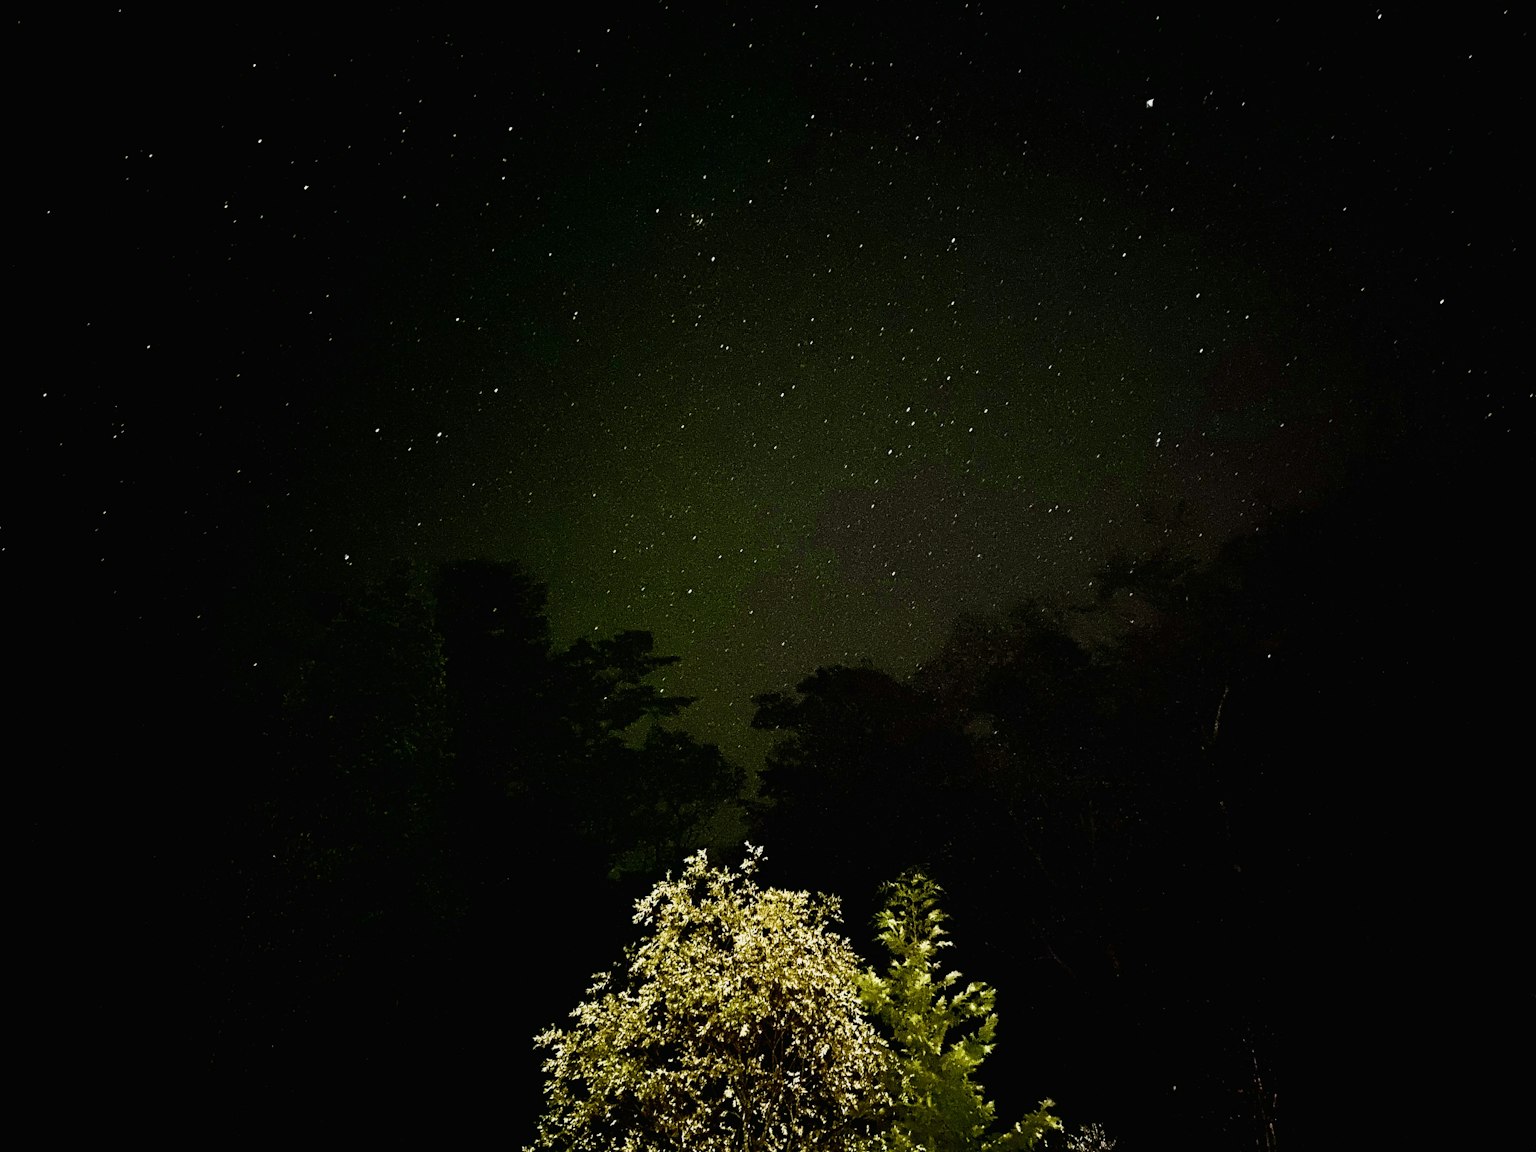
Photo by 雷道輝一
Step-by-Step Guide to Editing Tools
Editing after shooting is a crucial step to make your photos more appealing. Follow these 5 steps using editing tools like .
Step 1: Balance with Basic Corrections
- Exposure: Adjust brightness to balance the overall tone of the photo.
- Contrast: Highlight the lights and shadows of the night scene to emphasize clarity.
- Highlights and Shadows: Suppress highlights and lift shadow details to express the depth unique to nightscapes.
Step 2: Adjust Color Temperature
- Adjust color temperature to set the mood of the photo. You can create a cool impression with cool tones or add warmth with warm tones.
- Use saturation and natural saturation to enhance the beautiful colors of the nightscape.
Step 3: Fine-Tune with Tone Curve
- Use the tone curve to finely adjust the light and dark balance of the photo.
- Drawing an S-curve is recommended to increase contrast and add depth.
Step 4: Noise Reduction and Sharpening
- Noise is more noticeable in night photos, so use noise reduction to reduce graininess.
- Then apply sharpening to enhance details. Be careful not to overdo it, as it can look unnatural.
Step 5: Emphasize with Gradient Filter
- Use a gradient filter to brighten or darken specific parts.
- For example, applying it to the sky or water surface can create a more dramatic nightscape.
We are currently holding a photo contest themed on . Please feel free to enter!
