Differences and Choices Between Natural Light and Artificial Light | Knowledge #85
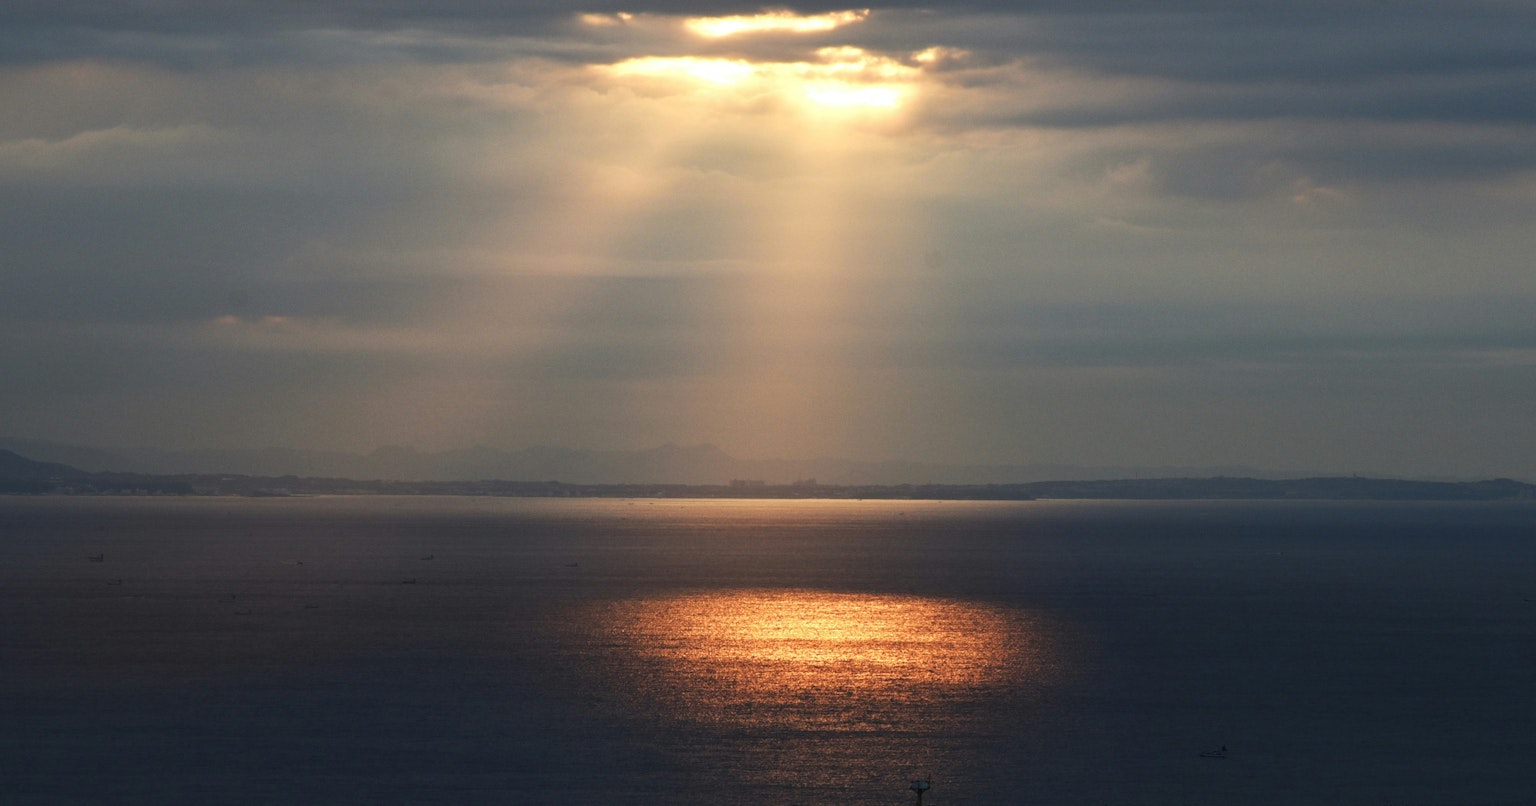
Cover image by tamu1500
In photography, the ability to manipulate light greatly affects the quality of your work. Both natural and artificial light have their advantages and disadvantages, and choosing which to use depends on the situation and subject.
This time, we introduce the benefits and drawbacks of natural and artificial light, along with practical tips for taking beautiful photos using each type of light.
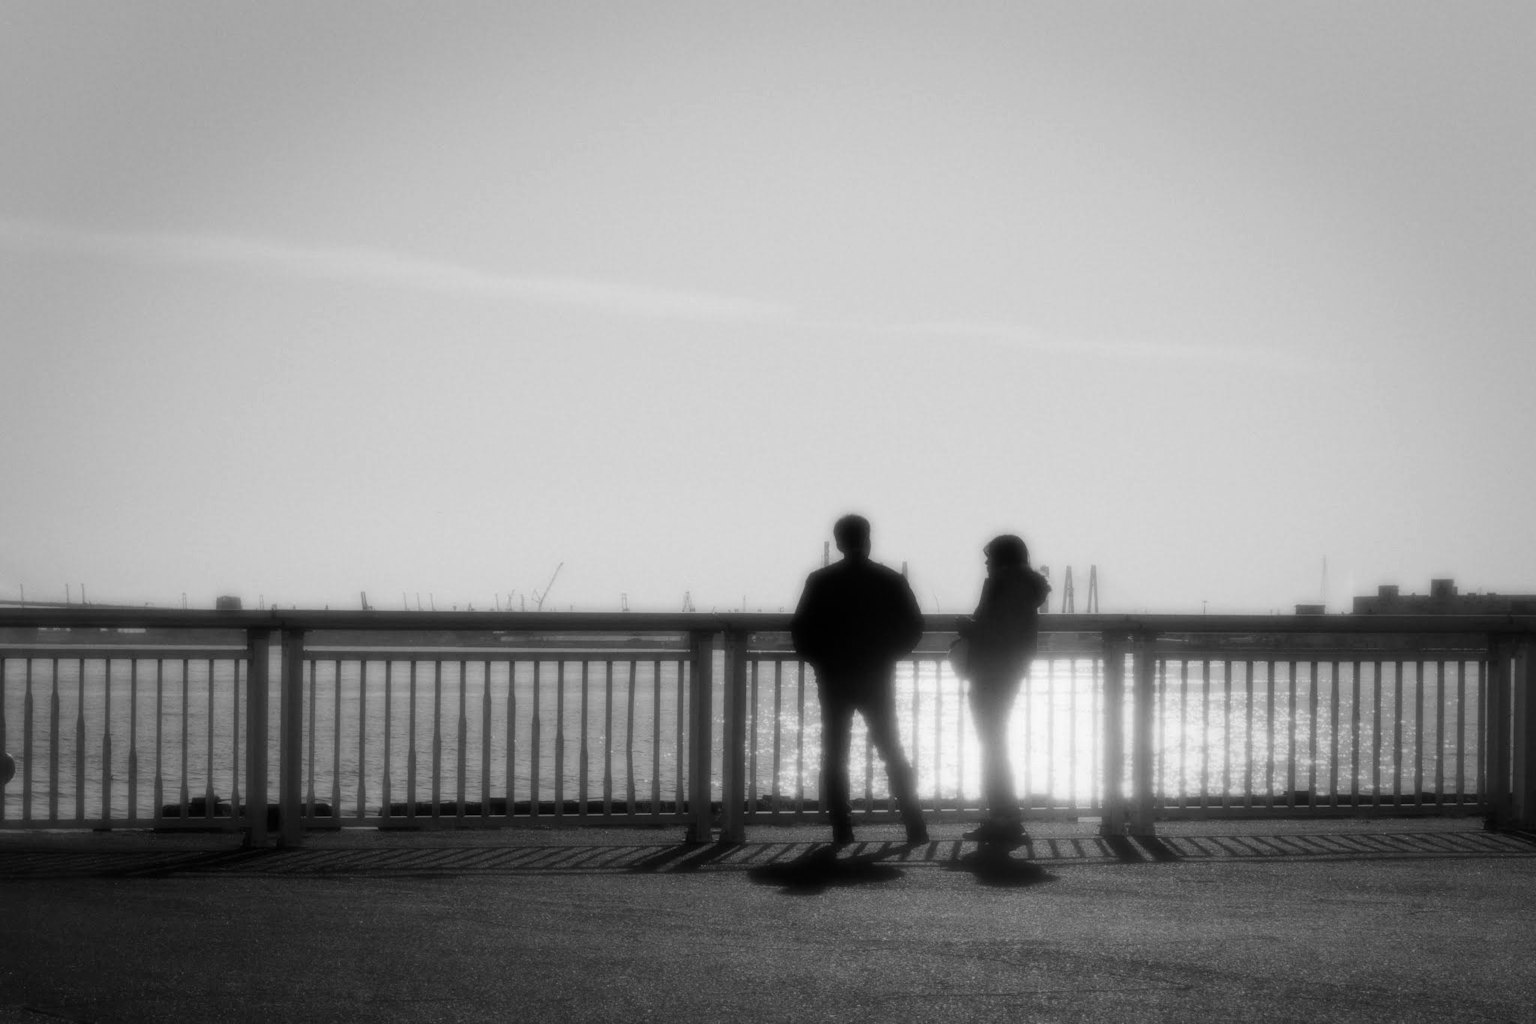
Image by RYUURI
The Charm and Use of Natural Light
The greatest advantage of shooting with natural light, which utilizes sunlight, is its "natural and beautiful expressiveness" and "cost-effectiveness."
During the "golden hour" at sunrise or sunset, you can obtain soft and warm light, which is ideal for landscape and portrait photography. On cloudy days, the clouds act as a natural softbox (a tool attached to lights or strobes to diffuse light), providing even and soft light to the subject.
Tips for Beautifully Utilizing Natural Light
- Aim for the Golden Hour: By shooting during the time just after sunrise or before sunset, you can utilize soft and warm light.
- Use Reflectors: When light is insufficient or you want to adjust shadows, use reflectors to reflect light and evenly illuminate the subject.
- Utilize Weather: On cloudy days, the light becomes softer, making it suitable for portrait or close-up photography. You can also aim for dramatic effects by utilizing light that breaks through the clouds.
The Power and Application of Artificial Light
Artificial light is characterized by the ability to freely control the intensity and direction of light during studio or outdoor shooting. Especially in commercial photography or fashion shoots, where a consistent lighting environment is required, artificial light is invaluable.
Moreover, using artificial light allows shooting without being affected by weather or time of day, and by combining multiple light sources, more creative expressions can be achieved.
Tips for Effectively Using Artificial Light
- Arrange Light Sources Creatively: Arrange the main light, fill light, and backlight to give the subject a three-dimensional feel, achieving a professional finish.
- Utilize Light Modifiers: Use softboxes or diffusers to soften light, or grids and snoots to narrow the light, adjusting the quality of light to match the shooting scene.
- Adjust Color Temperature: Use LED lights or flash to adjust the color temperature, creating the optimal light color for the subject or scene. This can create a natural atmosphere.
When mastering artificial light, "three-point lighting" is particularly fundamental, so be sure to refer to the following article.

Image by puku_hats
Appropriate Use of Light
Which light is superior depends on the purpose, situation, and subject of the shoot.
Natural light is ideal for scenes requiring simple and quick shooting, such as landscapes and documentary photography. On the other hand, artificial light shines in commercial photography and studio shoots. The key is to choose the optimal light source for the shooting scene and, if necessary, combine natural and artificial light to create more creative and high-quality photos.
By understanding and differentiating between natural and artificial light, you can broaden your photography range!
